Settings
On this page
Hold SELECT and press A, or find it on the main menu.
This is where Junk Store Pro’s own settings live, grouped into sections you pick from a list down the side. Several of them are worth knowing about before you need them.
This screen used to be called About. If you’ve seen it referred to that way, or you’re following older instructions, it’s the same place under a new name.
System
Your version, which channels you’re on, and the buttons for updating Junk Store Pro and installing the things it depends on.
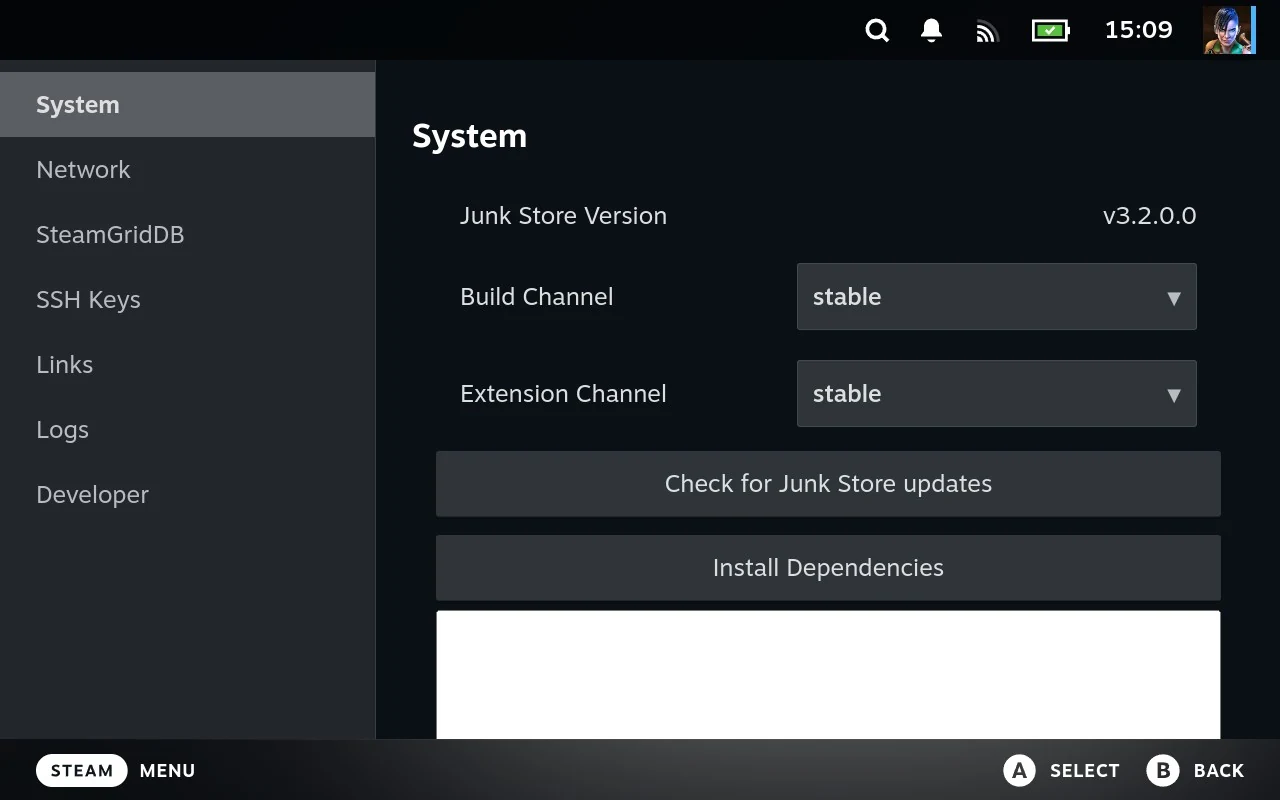
Build Channel and Extension Channel decide which releases this device receives. Build is Junk Store Pro itself; Extension is the stores and tools that run on it.
They’re set separately, and the same three channel names apply to both. Set them to match and leave them there.
In practice the extension channels track the build channels closely. Extensions don’t change much once they’re released, so unless a new feature is working its way through beta, the same extension is usually what you’d get on any channel.
The three channels:
| Channel | What’s in it |
|---|---|
| stable | What it says. This is where you should be |
| test | Hotfixes, waiting to be confirmed |
| beta | New features that work, but haven’t been through the full test run yet |
stable is the default and the right answer for almost everyone.
test exists for a specific moment: someone reports a bug, it gets fixed, and the fix goes here so that person can confirm it actually solved their problem before it reaches everybody. If you reported something and were asked to switch, this is why. Otherwise there’s nothing here for you.
beta is where new features land once they work well enough to be used for real, but before the full test run has been done on them. Things will occasionally break. Worth it if you want new things early and don’t mind reporting problems; not worth it if you just want to play games.
That test run is the reason stable takes a while to catch up. It’s an automated suite that takes over three hours per device, and it runs on several devices. Junk Store Pro is developed on a sailboat, where three hours of testing is a real amount of electricity, so full runs happen when they’re worth doing rather than continuously. Beta is what exists in between: code that’s been used and works, waiting for the run that confirms it.
You may see other channels in the list. They exist for internal reasons and aren’t intended for general use.
If you’re not sure, stay on stable. This is the setting most likely to change how Junk Store Pro behaves without you connecting the two events.
Offline Mode stops Junk Store Pro expecting a network, so it doesn’t sit there timing out and retrying when there’s nothing to reach.
It mostly looks after itself. Junk Store Pro watches the Deck’s network connection, and turns offline mode on when you lose connectivity and off again when it comes back. Walk out of range and it notices; come home and it notices that too. Most people never need to touch the toggle.
The toggle is there for when you want to force it: a connection that technically exists but doesn’t work, a hotspot you don’t want anything reaching over, or a captive portal you haven’t signed into. Setting it by hand is also useful if you know you’re about to lose signal and would rather not wait for the detection.
If downloads suddenly stop working, check this first. The detection is good but not perfect, and it can leave you in offline mode when you’re actually connected. The symptom is odd behaviour around downloads and logins in the newer command line clients: things fail or refuse to start for no visible reason, while the network is plainly fine. Coming back from sleep, switching networks, or a connection that dropped and returned are the usual ways to end up in that state.
Look at the toggle. If it’s on and you’re online, turn it off and try again. It’s a five-second check and it explains a surprising number of “downloads are broken” reports.
Enable Developer Mode turns on extra output aimed at people building things. Most users never need it, and it makes some screens noisier. It’s the toggle to try if documentation elsewhere mentions debug information you can’t see, and the one to turn off again afterwards.
The blue dot
Before the buttons themselves, one thing that appears across Junk Store Pro and isn’t explained anywhere on screen.
A small blue dot, gently pulsing, means there’s something new here. It’s the same marker wherever you see it, and it only ever means “look at this”, never “something is wrong”.
Two things use it:
| Where | Means |
|---|---|
| Check for Junk Store Pro updates, here and on the main menu | An update is waiting to be installed |
| News, on the main menu | You have news you haven’t read |
The dot goes away once you’ve done the thing it’s pointing at. Nothing breaks if you ignore it.
The buttons
Most of what you’d ever need to do to Junk Store Pro is here, as a column of buttons.
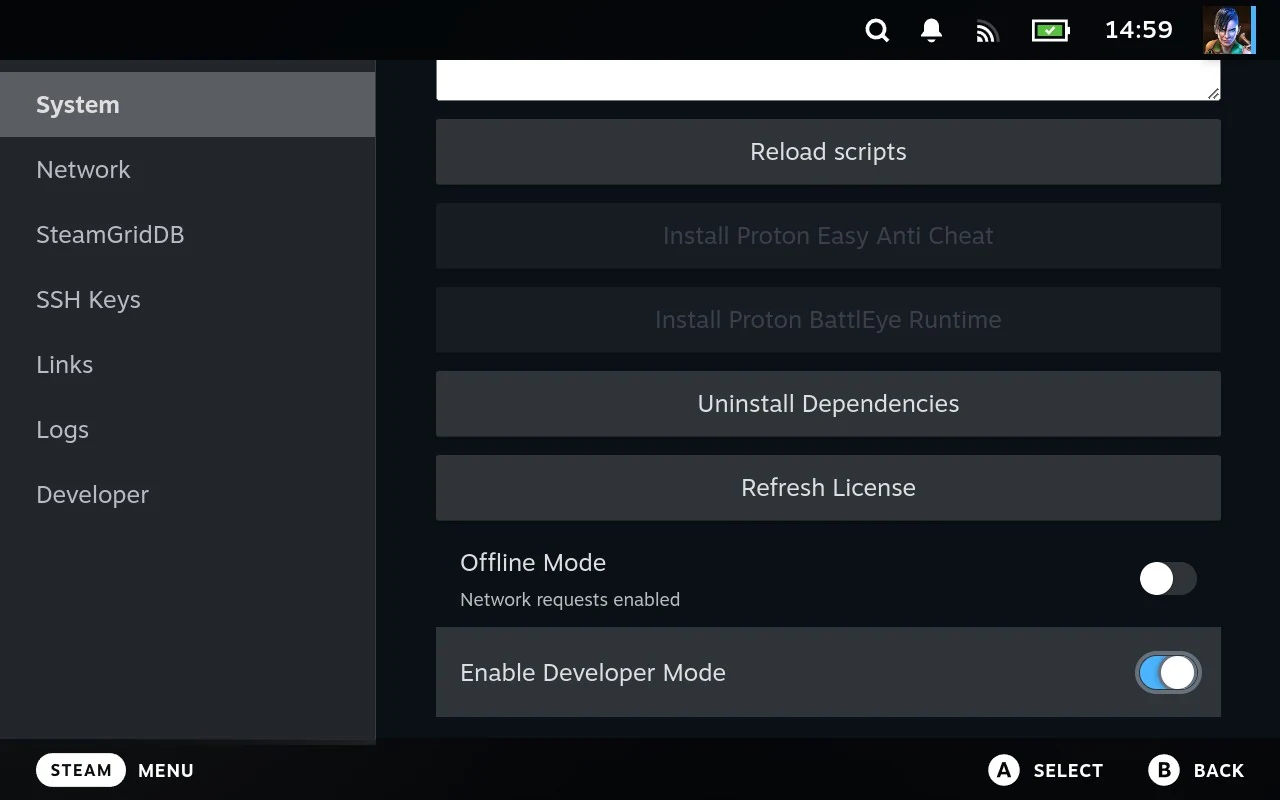
Check for Junk Store Pro updates does what it says, and changes to Install Update when there’s one waiting. This is how you take an update, so it’s the button to press when you’ve been told a fix is out.
Install Dependencies fetches the supporting software Junk Store Pro needs. Extensions rely on outside tools to do their work, and this is what puts them in place. Worth running if a store has started failing in ways that look like something is missing.
This one takes a while, and the box below the buttons shows what it’s doing as it goes, so you can see it working rather than guessing. The buttons disable themselves while anything is running and the label changes to Working… Do not close this screen. Take that literally and let it finish. If it fails, the reason appears in that same box, so read it before trying again.
Uninstall Dependencies removes them again. It’s the other half of the pair, and mostly useful when you want a clean slate before reinstalling.
Reload scripts re-reads the extension scripts without restarting anything. Quick, safe, and the first thing to try when an extension is behaving oddly after a change.
Refresh Licence re-checks your licence with the server. Use it if Junk Store Pro stops believing you’ve paid for it, which occasionally happens after a long spell offline.
Anti-cheat runtimes
Install Proton Easy Anti Cheat and Install Proton BattlEye Runtime install the two anti-cheat systems that multiplayer games commonly need. Without them, affected games either refuse to start or drop you from online play.
Each button greys out once its runtime is installed, so the state of the buttons tells you what you’ve already got.
They have to go on the internal SSD. This is the single most common reason anti-cheat doesn’t work: the runtime landed on the SD card instead, and games that need it fail with no obvious explanation.
Steam installs them wherever your default install location happens to point, so if that’s your SD card, that’s where they go. Check your default before installing, or check where they ended up afterwards.
That restriction may lift eventually, but there’s a reason for it as things stand. An SD card can be removed, and a runtime that disappears when you swap cards leaves games broken in a way that’s genuinely hard to work out.
Fixing one that’s on the wrong drive
You’ll find both runtimes in Steam itself. Search for them by name in the search box at the top of Big Picture Mode and they turn up under the Tools tab, where they behave like anything else in your library.
That’s how you uninstall one that went to the wrong place, and how you reinstall it to the right one. It’s also the way out if you installed a runtime by mistake and want the space back, because nothing on this screen will undo them.
If an anti-cheat game isn’t working and the runtime looks installed, this is the first thing to check.
Network
How this device finds other machines running Junk Store Pro, and how it introduces itself. What this is all for is covered in Reaching another machine; this is what the controls do.
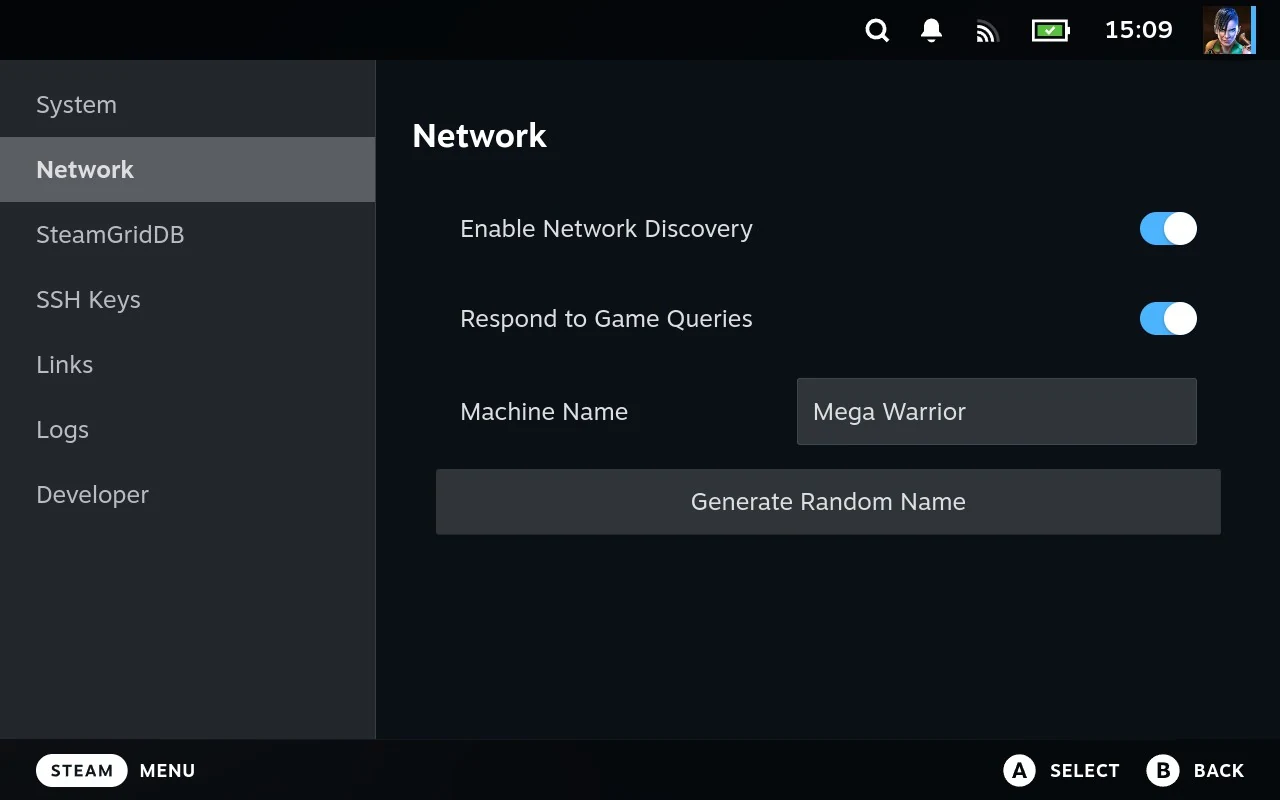
Enable Network Discovery is on by default. It’s what makes this device announce itself on your network and notice others doing the same, which is how machines turn up in the File Manager’s sidebar. Turn it off and this device goes quiet in both directions, so remote browsing stops working from here.
Respond to Game Queries is also on by default. It lets another Junk Store Pro on your network ask this one which games it has. Turning it off doesn’t affect file browsing.
Machine Name is what other devices call this one. It’s the name in the sidebar and, more importantly, the name in the pairing request when you connect two machines, so it’s worth being able to recognise. Type whatever you like in the box.
Generate Random Name
Underneath the name box is a button that invents one for you.
It builds something like Cosmic Raider or Blazing Samurai from a list of adjectives and a list of nouns. A few hundred combinations, and they’re distinctive enough to actually remember, which is the point: Mighty Wizard is easier to pick out of a pairing request than a second device also called “Steam Deck”.
Your device already has one of these from when you first ran Junk Store Pro. The button is for getting a different one, either because you don’t like what you got or because two of your devices happen to have collided.
It applies immediately. There’s no preview and no confirmation, so if you press it again you’ve lost the previous name. Press it until you get one you like, or type your own in the box instead.
Names aren’t checked for collisions. For a household with a handful of devices this never comes up. Get twenty or thirty Decks onto one network, though, and two of them sharing a name becomes likely rather than unlucky, which is worth knowing if you’re ever at a LAN party optimistic enough to have that many. Type a name in by hand if it matters.
If you do end up at a Steam Deck LAN party big enough to run out of names, tell us. We’ll happily make the generator smarter, and we would very much like to see photos.
SteamGridDB
Junk Store Pro can fetch artwork from SteamGridDB, which is a community library of game images. Doing that needs an API key, which is free and comes from their website.
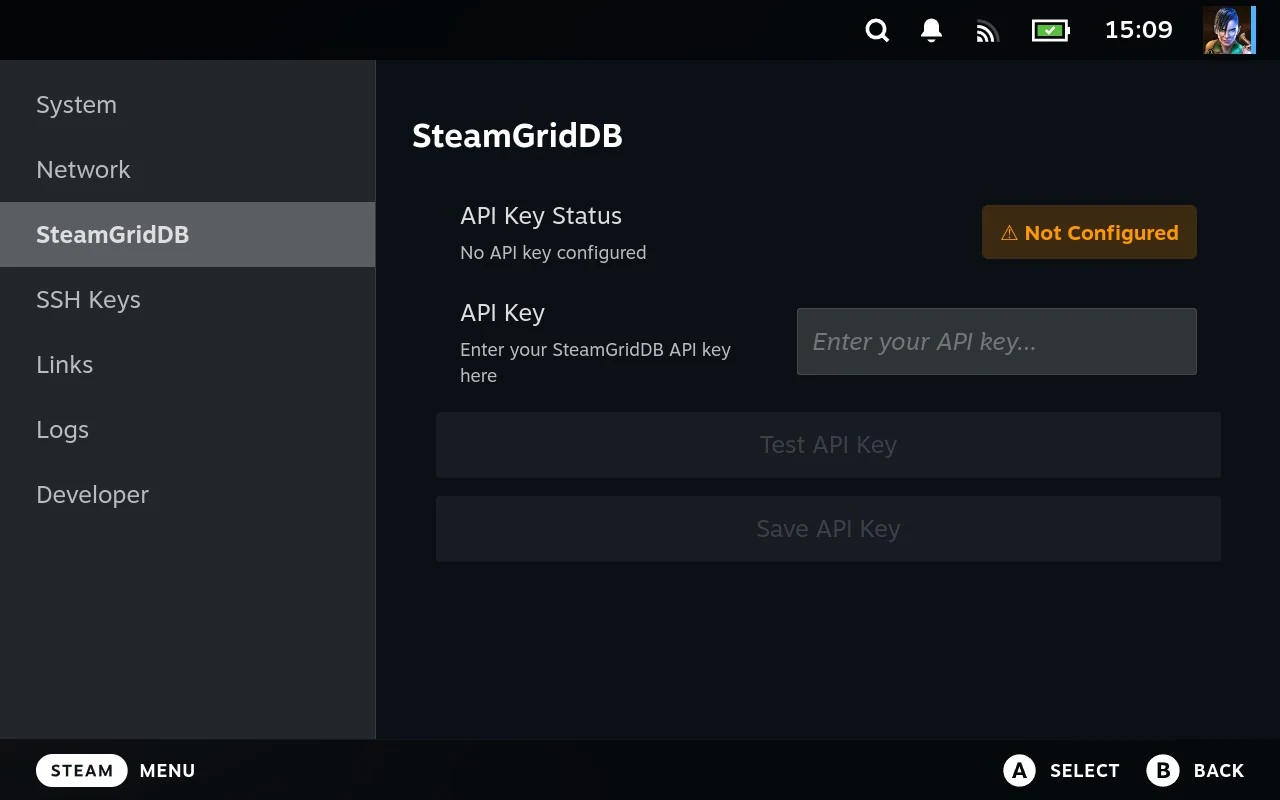
Without a key, artwork comes from whatever the store itself supplies, so this is worth setting up if you have games whose artwork is missing or ugly. Setting artwork by hand from an image file is covered in The Steam submenu.
API Key Status tells you where you stand at a glance, and below it is the box to paste a key into, with two buttons.
Test API Key checks the key against SteamGridDB and tells you whether it worked. It does not save anything. That’s the point of having it separate: you can find out whether a key is any good before committing to it.
Save API Key stores it. This is the one that actually takes effect, and it’s easy to miss if you tested first, saw the key was valid, and assumed you were finished. Test, then save.
Both buttons stay greyed out until there’s something in the box.
Editing the key by hand
Typing a long random key on the Deck’s on-screen keyboard is miserable, so if you have SSH access there’s an easier route. The key lives in one small file:
~/.config/junkstore/steamgriddb-settings.json
which holds nothing but the key:
{"api_key": "your-key-here"}
Edit that, save, and you’re done. Junk Store Pro reads the file each time it fetches artwork, so there’s nothing to restart and no need to go back to this screen.
If the file doesn’t exist yet, create it with that one line in it. Setting the key here and setting it in the box above are the same thing, so use whichever is less painful.
SSH Keys
Everything about the keys that let this device and another trust each other. What it’s all for is in Reaching another machine; this is the screen that shows it.
At the top you’ll find your own key’s type and fingerprint, along with the public key itself, which is the half that’s safe to share.
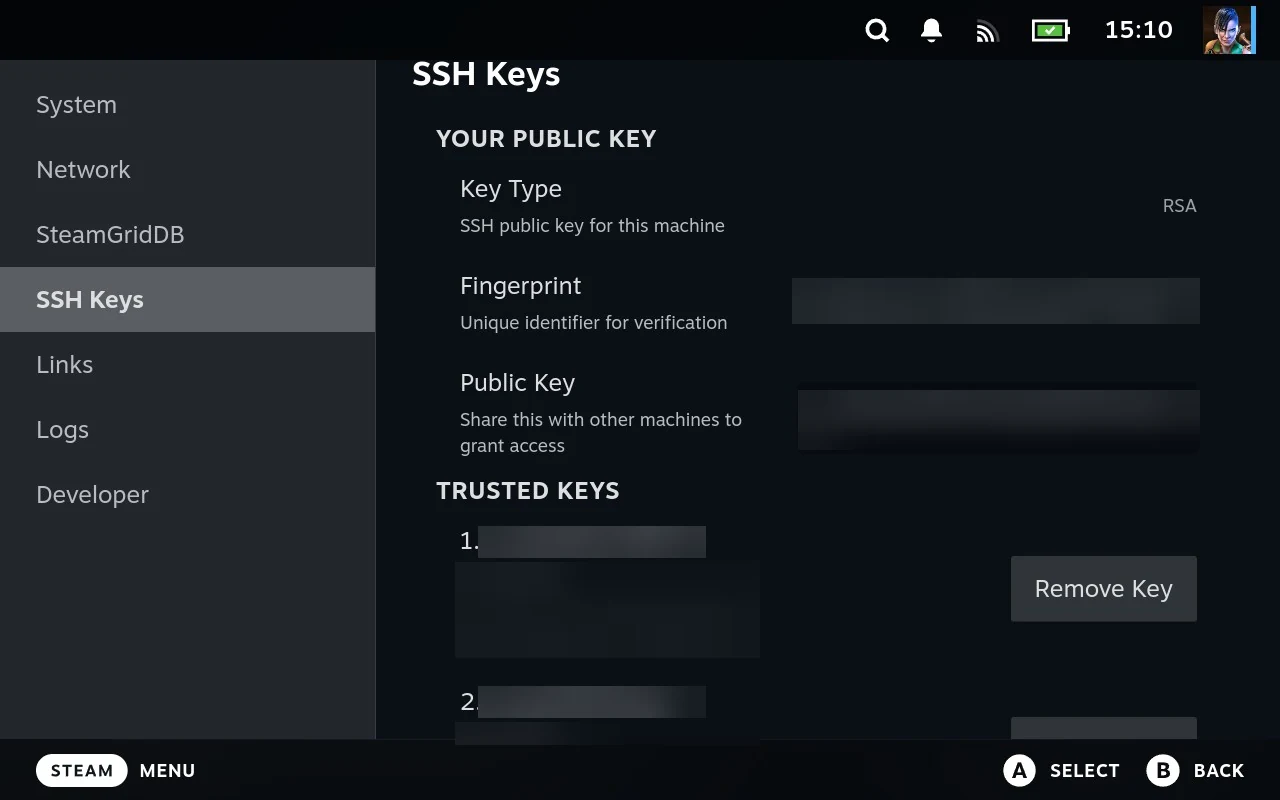
If you haven’t got a key, the screen tells you so. Making one takes a single command, and Reaching another machine covers it.
Where the key files live
Two directories, both inside your home folder, and it helps to know which is which.
| Path | What it is |
|---|---|
~/.ssh/id_ed25519 | Your private key. Never leaves this device |
~/.ssh/id_ed25519.pub | Your public key. The one that gets copied to machines you connect to |
~/.ssh/authorized_keys | Machines allowed to connect to you. One key per line |
authorized_keys is the one pairing writes to, and the one Managing trusted keys shows you. Removing a line there revokes that machine’s access.
Permissions matter and SSH is strict about them. If ~/.ssh or the files in it are readable by other users, SSH refuses to use them and connections fail with nothing obviously wrong. ssh-keygen sets them correctly, so this only bites if you’ve copied files around by hand. The fix:
chmod 700 ~/.ssh
chmod 600 ~/.ssh/id_ed25519 ~/.ssh/authorized_keys
chmod 644 ~/.ssh/id_ed25519.pub
Getting a terminal
To run any of the above you need a shell on the Deck. Switch to Desktop Mode from the power menu and open Konsole. That’s enough for ssh-keygen, and for editing files by hand.
Reaching the Deck from another computer is a different thing, and it needs the SSH server switched on.
Read this before turning SSH on
There’s no button in Junk Store Pro for this, deliberately. Turning on SSH opens your device to the network, and that shouldn’t be a toggle somebody flips without knowing what it does. Doing it from a terminal means you’ve read something about it first, which is the whole point of the friction. So here’s the something.
This is a real door into your Deck, and it stays open until you close it.
Anyone on your network can then try to log in. At home that’s your household. On public Wi-Fi at a hotel, an airport or a games event, that’s everybody there. SSH is well built and doesn’t hand out access easily, but the door exists where it didn’t before.
Your password becomes the thing protecting your files. A weak one on a shared network is a genuine risk, so make it a real password rather than something quick to type with a controller. Put it in a password manager while you’re at it, because forgetting it is worse than choosing a bad one.
Turn it off when you’re not using it. Running it only when you need it, on networks you trust, is the sensible habit. Leaving it on permanently is fine at home and unwise anywhere else.
If that all sounds fine, carry on.
Turning SSH on
Two steps, both in Konsole.
Set a password first. A fresh Deck has no password for the deck user, and SSH won’t let an account with no password log in:
passwd
Write it down somewhere you won’t lose it, ideally a password manager. You’ll need it again for anything that uses sudo, and you probably won’t type it often enough to remember it. Resetting a forgotten Deck password is a genuinely tedious job involving boot menus and recovery images, so five seconds of saving it now is worth it.
Then start the SSH server:
sudo systemctl enable --now sshd
enable makes it start with the Deck. Drop that word if you only want it running until the next reboot, which is the safer choice if you’re just doing one job.
Find the Deck’s address with ip addr, then connect from another machine with ssh deck@<address>.
To turn it off again:
sudo systemctl disable --now sshd
A SteamOS update may undo this. Updates can reset system settings, so if SSH stops working after one, enabling it again is the first thing to try.
Managing trusted keys
The list of machines your device trusts is in Settings, under Trusted Keys. Each entry is one line from your authorized_keys file, shown with whatever name that key was saved under.
Remove sits against each entry. It asks you to confirm first, showing which key you’re about to drop, and then takes that line out of authorized_keys.
Removing a key immediately revokes that machine’s access. It’s the undo for pairing, and it’s the thing to reach for when:
- You paired something to try it and are done
- A Deck or computer left your household
- You don’t recognise an entry
An unrecognised entry deserves attention rather than a shrug. Remove it; if it was legitimate, pairing again takes a minute.
Refresh Trusted Keys re-reads the file and redraws the list. The list is loaded when you open the screen, so you need this after anything changes authorized_keys behind its back: a machine that just paired with you while you were sitting on this screen, or a key you added or removed yourself over SSH. If what you’re looking at doesn’t match what you expect, press it before concluding something’s wrong.
Reviewing this list every so often is a small habit worth having. It’s the only place that answers “what can currently reach this machine”.
Links
Where to find the project: the website, the Discord, the subreddit, and X.
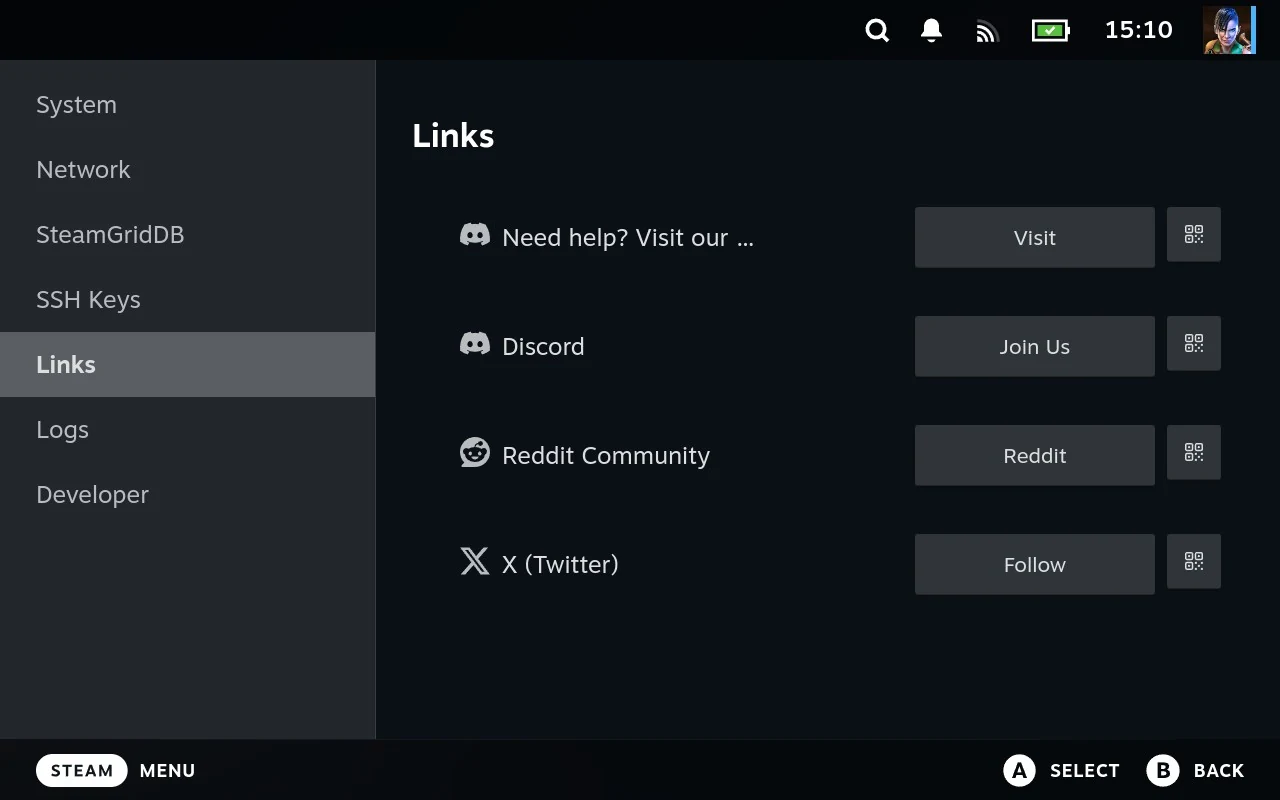
Each one has two buttons.
The first opens it in the Deck’s own browser. Fine for a quick look, though browsing on a Deck is not the most pleasant thing in the world.
The second shows a QR code. Point your phone’s camera at the screen and the link opens there instead, which is almost always what you want. Reading Discord, filing a bug report, or following a guide is far easier on a phone than in Game Mode, and it saves typing a URL by hand with a controller.
The QR code is just the same link in a form a camera can read. Nothing is sent anywhere, and nothing about your device is encoded in it.
Logs
An old log viewer that predates the rest of this.
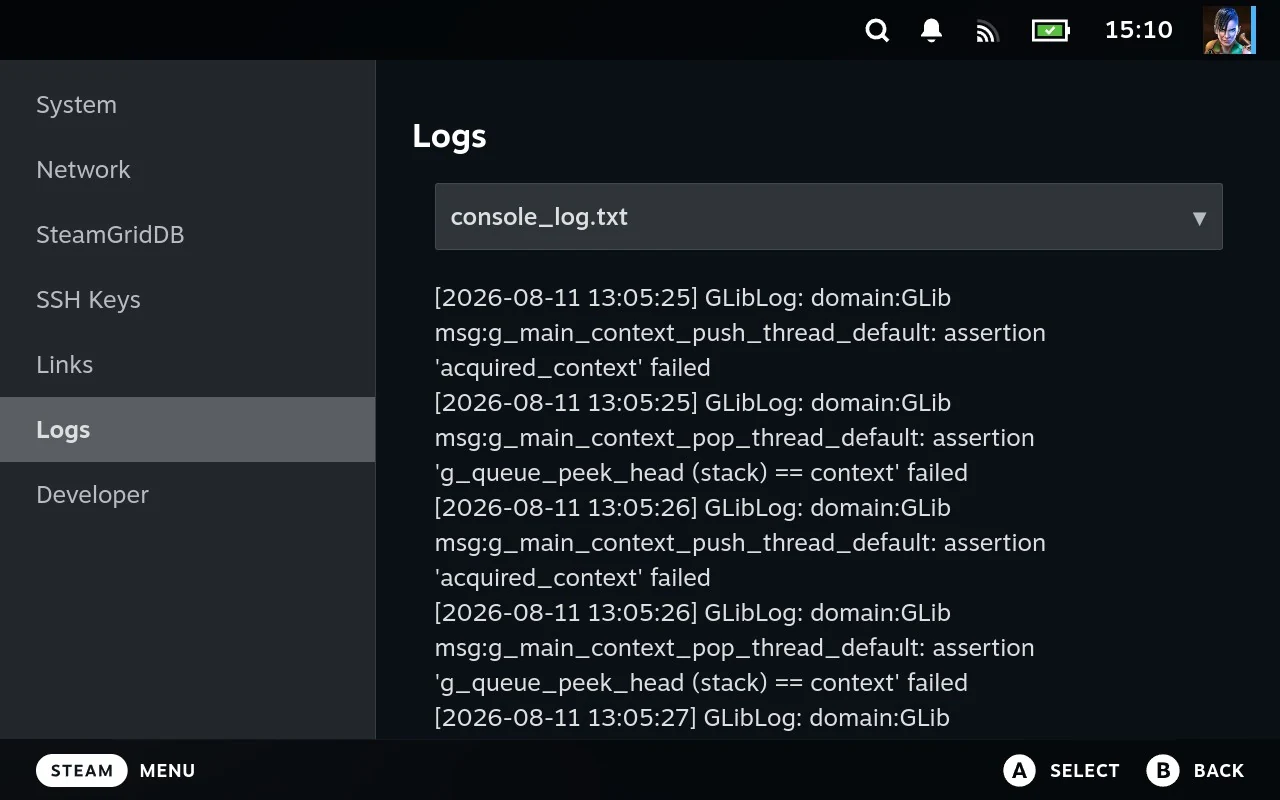
Use the File Manager instead. The logs shortcut gets you to the same files with a viewer that pages large ones properly, wraps long lines, and lets you send a log straight to a support ticket. This section is likely to be removed in a future release.
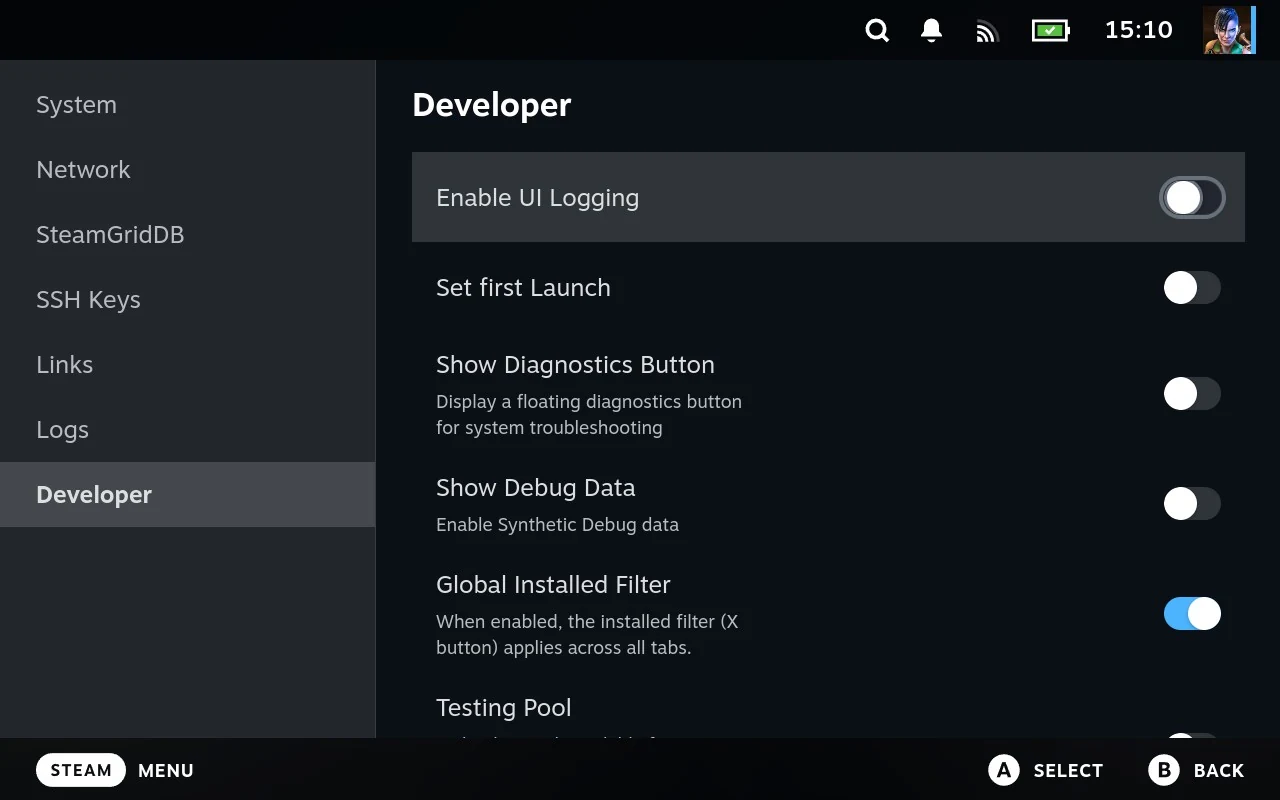
Developer
Tools for people working on Junk Store Pro itself. Nothing here is needed for ordinary use, and some of it assumes you know what you’re doing.
Related
- Machine names, pairing and trusted keys: Reaching another machine
- Reading logs properly: File Manager tools
- Setting artwork from an image file: The File Manager and Steam
- What else the SELECT chords do: File Manager reference