File Manager tools
On this page
The File Manager has a few things built into it that go beyond moving files around: viewers for reading almost any file, a disk analyser for working out what’s filling your drive, and a sidebar that gets you to the places that matter in one press.
Viewing files
Press X on a file to view it. Junk Store Pro picks a viewer from the file’s extension, so there’s nothing to choose.
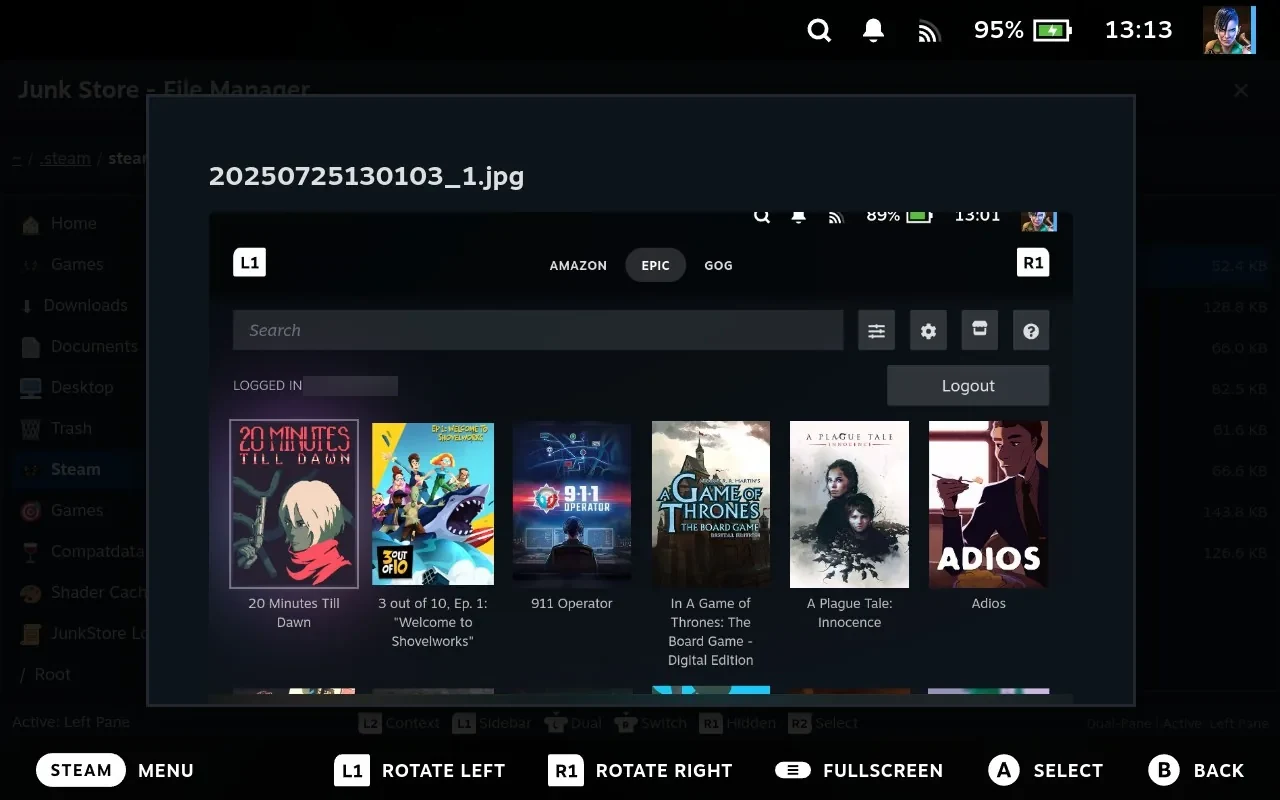
The viewers are in the left-trigger menu too, listed by what suits the file: Preview image, View PDF, View markdown, View hex, View as text. That’s useful when you want to force a particular one, reading a config file as plain text, say, or looking at the raw bytes of something, and it’s how you view a file when X is doing something else, as it is when the File Manager opens as a picker.
This matters more than it sounds. Reading a log, checking a config, confirming an image is the one you meant, or looking inside a game’s database are all things that would otherwise mean leaving Game Mode for the desktop.
| Viewer | Opens | What it gives you |
|---|---|---|
| Image | png jpg jpeg gif webp bmp svg ico avif | The picture. Useful for checking artwork before assigning it |
pdf | Page by page. Manuals that shipped with a game | |
| Markdown | md markdown mdown mkd | Formatted, not raw. READMEs |
| Media | mp3 ogg oga opus wav flac m4a aac, mp4 m4v webm ogv | Plays it, streamed rather than loaded whole |
| SQLite | db sqlite sqlite3 | Tables, row counts, the schema, and the data |
| Hex | exe dll so dylib bin dat pak wad bik o a dyn img rom sav and similar | Raw bytes, for files that aren’t text |
| Text | Anything else | The contents, as lines |
The text viewer is the fallback, not the hex viewer. A file with no extension, or an unfamiliar one, opens as text on the assumption it is readable. That is right far more often than not, and the binary types listed above go to hex because they would otherwise render as garbage.
Two things the text viewer can do:
- Word wrap can be turned on, for logs with very long lines.
- JSON is pretty-printed on demand. Open a
.jsonfile and press Y to re-indent it. Configuration files that shipped as one long line become readable, and pressing Y again returns them to how they are stored.
Large files are paged, not loaded whole. A multi-gigabyte log opens immediately and you scroll through it; the viewer fetches only what is on screen.
Two things to watch for
A .db that isn’t really SQLite falls back to hex. Junk Store Pro tries to open it as a database first, and if that fails it shows you the bytes rather than an error. The extension .db gets used for all sorts of things, so this happens more than you might expect.
You can view files inside an archive. Focus a member of an unfolded archive and press X. It is extracted to a temporary location behind the scenes and opened in whichever viewer suits it, so you can read a README inside a zip without unpacking the zip.
Viewing doesn’t work on a remote machine. The viewers read from this device’s disk, so on an ssh:// pane X does nothing and the viewer entries don’t appear in the menu either. Copy the file across first, then view it.
The sidebar
The sidebar is the fast way to anywhere that matters. LB shows and hides it.
Always present:
| Shortcut | Goes to |
|---|---|
| 🏠 Home | Your home directory |
| 🎮 Games | ~/Games |
| ⬇️ Downloads, 📄 Documents, 🖥️ Desktop | The usual places |
| 🗑️ Trash | Deleted files, recoverable |
| 🎮 Steam | Steam’s own directory |
| 🎯 Games | steamapps/common, where Steam games install |
| 🍷 Compatdata | Every Proton prefix, named |
| 🎨 Shader Cache | Every shader cache, named |
| 📜 JunkStore Logs | ~/.config/junkstore/logs |
| / Root | The top of the filesystem |
Added when they apply:
- Removable devices appear on their own as you plug them in, an SD card or a USB drive shows up by its label, so moving games onto external storage needs no path typing.
- Network machines appear as they are discovered, each with its own home, Compatdata and Shader Cache entries. See Reaching another machine.
- The game’s own directories, when opened from a game.
The logs shortcut is the one to remember
📜 JunkStore Logs is the most useful entry in that list and the easiest to overlook.
It takes you to ~/.config/junkstore/logs, where Junk Store Pro’s own backend writes down what it’s doing. When a game won’t launch, an install fails, or an extension misbehaves, this is where the reason is recorded, usually in plain words.
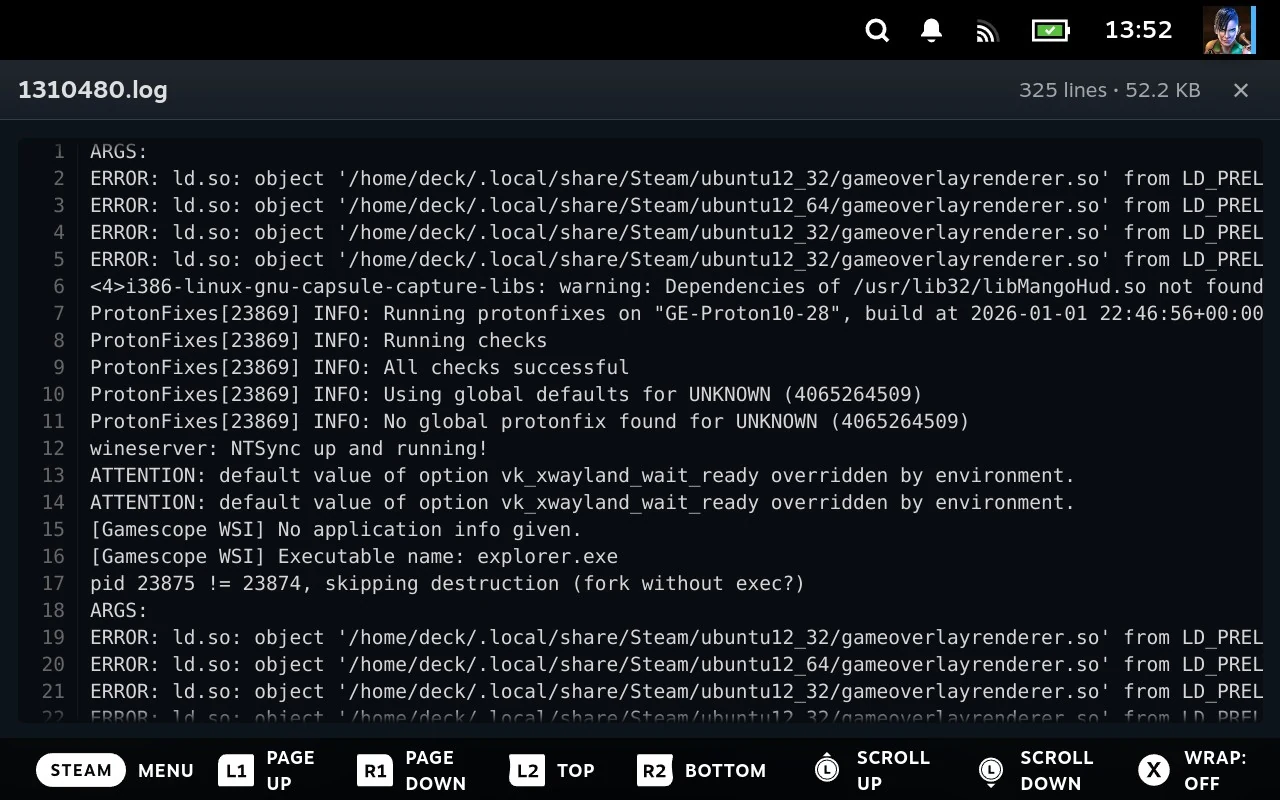
Together with the text viewer that means reading the log on the device, in Game Mode, the moment something goes wrong. The alternative is Desktop Mode, a terminal, and knowing the path.
There’s a second log worth knowing about: a game’s own launcher.log, in its install folder, reachable from the Game Install Directory shortcut when you opened the File Manager from that game. That one records what happened when the game itself started. Between the two, most “it just doesn’t work” questions have an answer on the device.
Large logs open instantly because the viewer pages them, and word wrap helps with long lines.
Sending a file to support
If you have a support ticket open, you can send a file to it straight from the File Manager, instead of copying it off the Deck first. Focus the file, open the menu with the left trigger, and choose ☁️ Upload to JunkStore Portal.
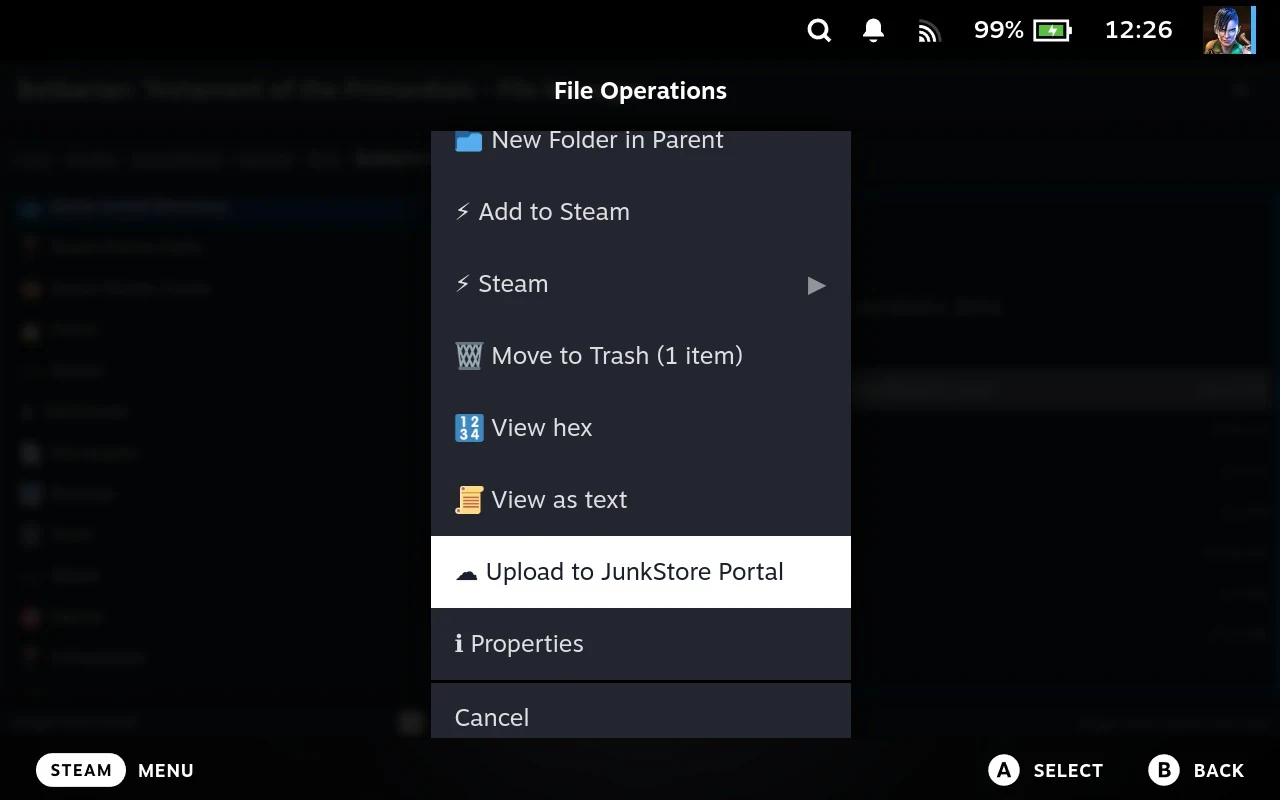
You need a ticket first, filed on the portal.
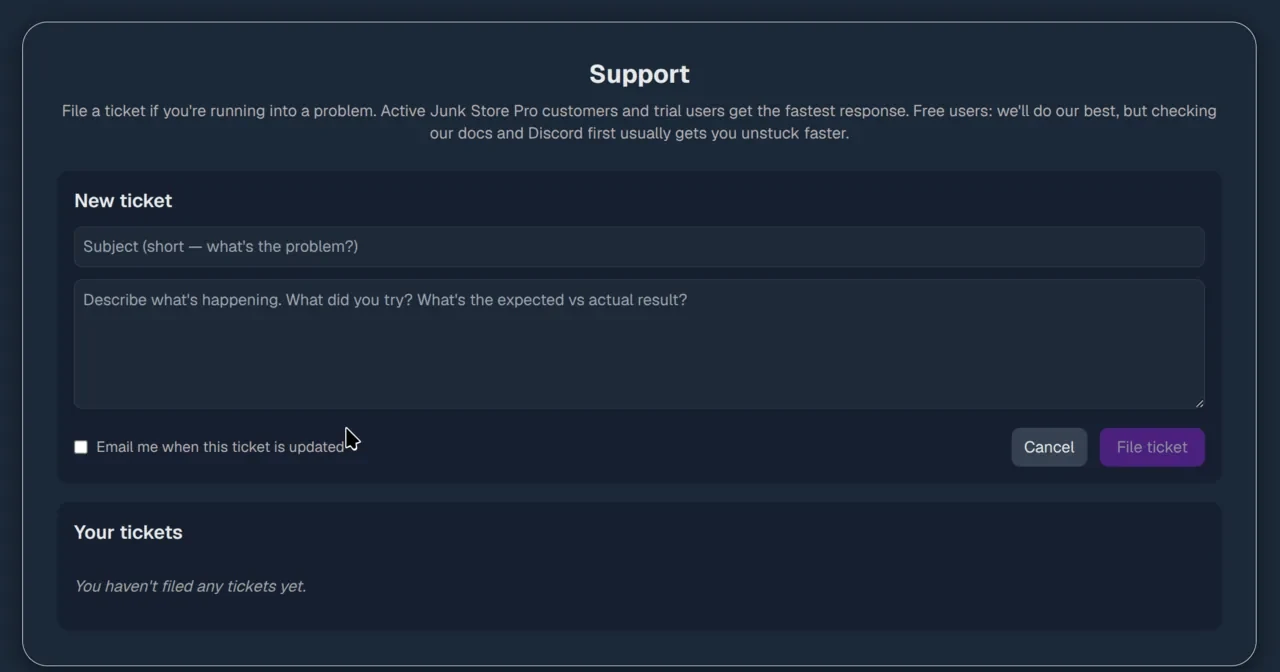
Uploads have to be turned on for your ticket first. Support enables them per ticket, so this only works when someone at the other end is expecting a file. If none of your tickets is accepting uploads, Junk Store Pro says so and suggests replying on the portal to ask.
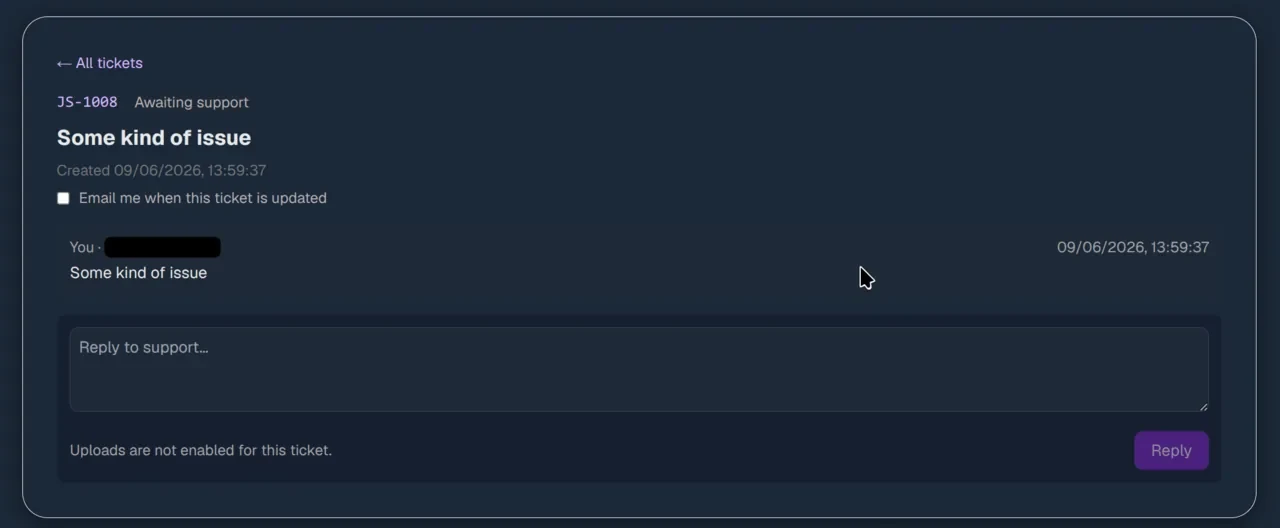
With one ticket accepting uploads it goes straight to a confirmation. With several you pick which, and each shows how many uploads it has left.
On a folder the menu says “Upload listing”, and it means it. That sends a list of what’s in the folder, names, sizes and dates, including everything in subfolders, not the files themselves. It’s for showing support the shape of an install without sending the install. If the folder is small enough for the ticket’s size limit, the contents are zipped and sent as well, and the confirmation tells you which is about to happen.
Nothing leaves your Deck until you confirm, and you’re told which ticket it’s going to.
The sidebar’s own menu
The left trigger works on sidebar entries too, and offers a different set. This is worth knowing because clicking a sidebar shortcut always navigates the active pane, which is not always the one you meant.
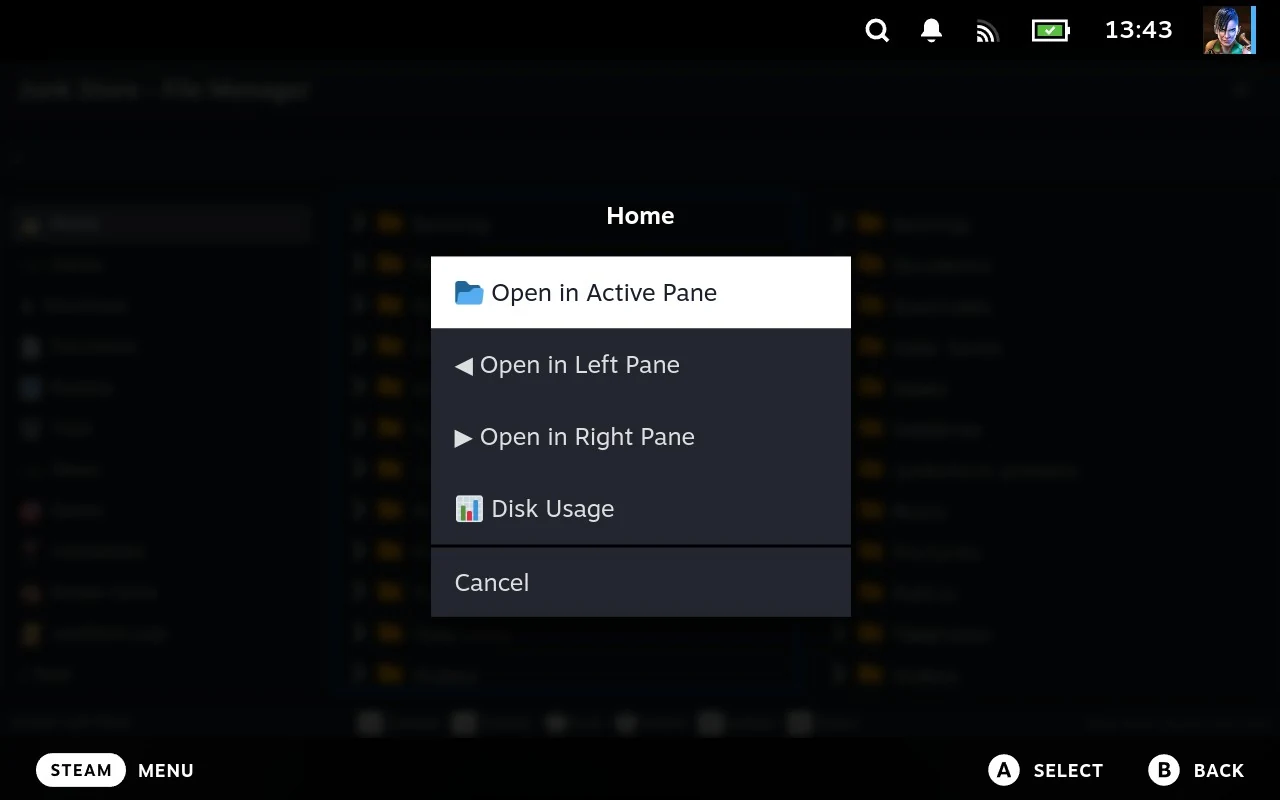
| Item | Does |
|---|---|
| Open in Active Pane | Same as clicking it |
| Open in Left Pane | Sends it to the left, whichever is active |
| Open in Right Pane | Sends it to the right, whichever is active |
| Paste | Pastes the clipboard into that location, without navigating there first |
| Disk Usage | Opens the disk analyser on that location |
| Empty Trash | On the Trash entry only |
Open in Left/Right Pane appear when two panes are open, and they are the fix for the most common sidebar annoyance: wanting a game’s install directory in the other pane so you can copy into it.
Paste is quietly useful. With something on the clipboard you can drop it into a sidebar location without going there, which saves navigating away from where you are working.
Empty Trash is permanent and asks first. Everything the File Manager deletes goes to the trash, so this is the point of no return rather than an ordinary tidy-up.
Disk Usage
This is a proper disk analyser, not just a size readout. It’s what to reach for when your Deck is full and you can’t work out why.
It draws the folder as a treemap: every folder and file inside becomes a rectangle, sized by how much space it takes up. The biggest thing on screen is the biggest thing on disk, so you can see what’s filling your drive at a glance.
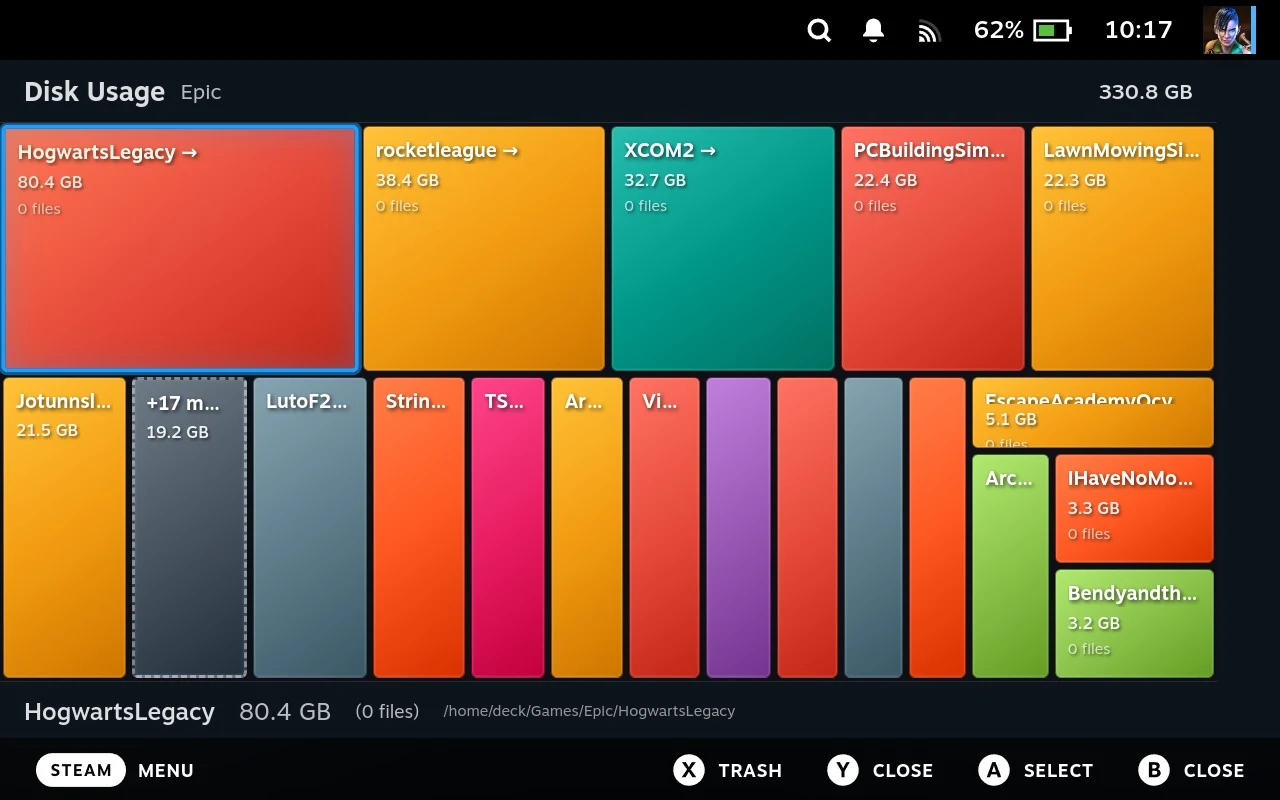
It fills in as it scans. Results stream in while the scan runs, so a large directory starts showing its shape immediately instead of leaving you at a progress bar. Scanning a full drive takes a while; you don’t have to wait for it to finish before reading it.
Select a rectangle to drill into it, and that subdirectory is scanned and drawn in turn. This is how you follow a large area down to whatever is actually responsible, which is usually several levels below where you started.
You can delete from inside it. Having found the culprit, you can move it to the trash without leaving the view; you are asked to confirm, and told the size of what you are removing. That’s what makes it useful rather than just informative: finding the problem and fixing it happen in the same place.
Three places open it:
| From | On | Note |
|---|---|---|
| An item’s menu | Directories | Not on a network machine’s root |
| The sidebar menu | Any sidebar entry | Not on a network machine |
| Either menu | Left trigger, or right click |
The sidebar route is the quick one for the places that usually matter, your home directory, or a game’s install directory when opened from a game.
Start: set the pane’s root
Press Start on a directory and it becomes the pane’s top level. The listing is now that directory, and everything above it is out of the way.
This is the fix for working inside a deep path. A game’s install directory is buried several levels down, and without it you scroll past everything above every time you go up a level. Set the root once and the pane behaves as though that directory were the top of the disk.
What Start does depends on what is focused:
| Focused | Start does |
|---|---|
| A directory | Makes that directory the root |
| A file | Makes the current directory the root |
.. | Navigates to the parent, same as opening it |
Pressing Start on a file isn’t a mistake, then; it roots the pane where you are standing, which is often what you want once you have found the file you care about.
The root is per pane. With two panes open you can root one at a game’s install directory and leave the other showing your home directory, so a long copy needs no navigating at all.
Related
- Driving the File Manager: The File Manager
- Editing your Steam library: The File Manager and Steam
- Every shortcut: File Manager reference